Installation of an artificial Christmas tree - step by step!
Christmas is a time for joy, not frustration, right? Setting up an artificial Christmas tree can seem challenging, especially if you haven't done it in a while. But don't worry – we've got a solution! This guide will help you get through the whole process without unnecessary stress and with a smile on your face. Preparation, assembly, and a bit of patience are all it takes to create a beautiful, festive atmosphere.
- Preparation is the key to success. Make sure you have everything you need and organize the space so that the work is comfortable.
- Branches make the difference - take some time to properly spread out the branches. The natural shape of the tree will be worth every minute.
- Mind the details! Cleaning the tree and hiding the stand will make the whole setup look neat and magical.
An artificial tree is a great choice – it’s durable, looks beautiful for many years, and doesn’t require daily cleaning of fallen needles. However, setting it up for the first time or after a long break can be intimidating: Will I manage it? Will everything be stable? What if a part is missing? No worries! In this guide, you will find all the tips to help you assemble your artificial tree step by step, without frustration or nerves. We’ll take care of every detail: from checking the box contents to fine-tuning the last branches.
Table of Contents:
How to Assemble an Artificial Tree? Start with Preparations
First, make sure that all the elements are in the box: the 2 or 3 tree parts (depending on the size), the stand, and assembling accessories. Nothing ruins the mood like a missing screw or incorrectly labeled parts.
Second, organize the space where you will be working. A large, clean piece of floor is ideal. It's worth placing cardboard or a soft mat under the stand to protect the surface from damage. If you have a delicate floor, attach felt pads to the stand to avoid scratches. Placing all parts within reach of your hand first saves a lot of nerves.
Step-by-Step Assembly
Start by placing the stand in the spot where you plan to set up the finished tree. Attach the stand to the largest, lower section and ensure it is securely fastened.
Adding Sections and Spreading Branches
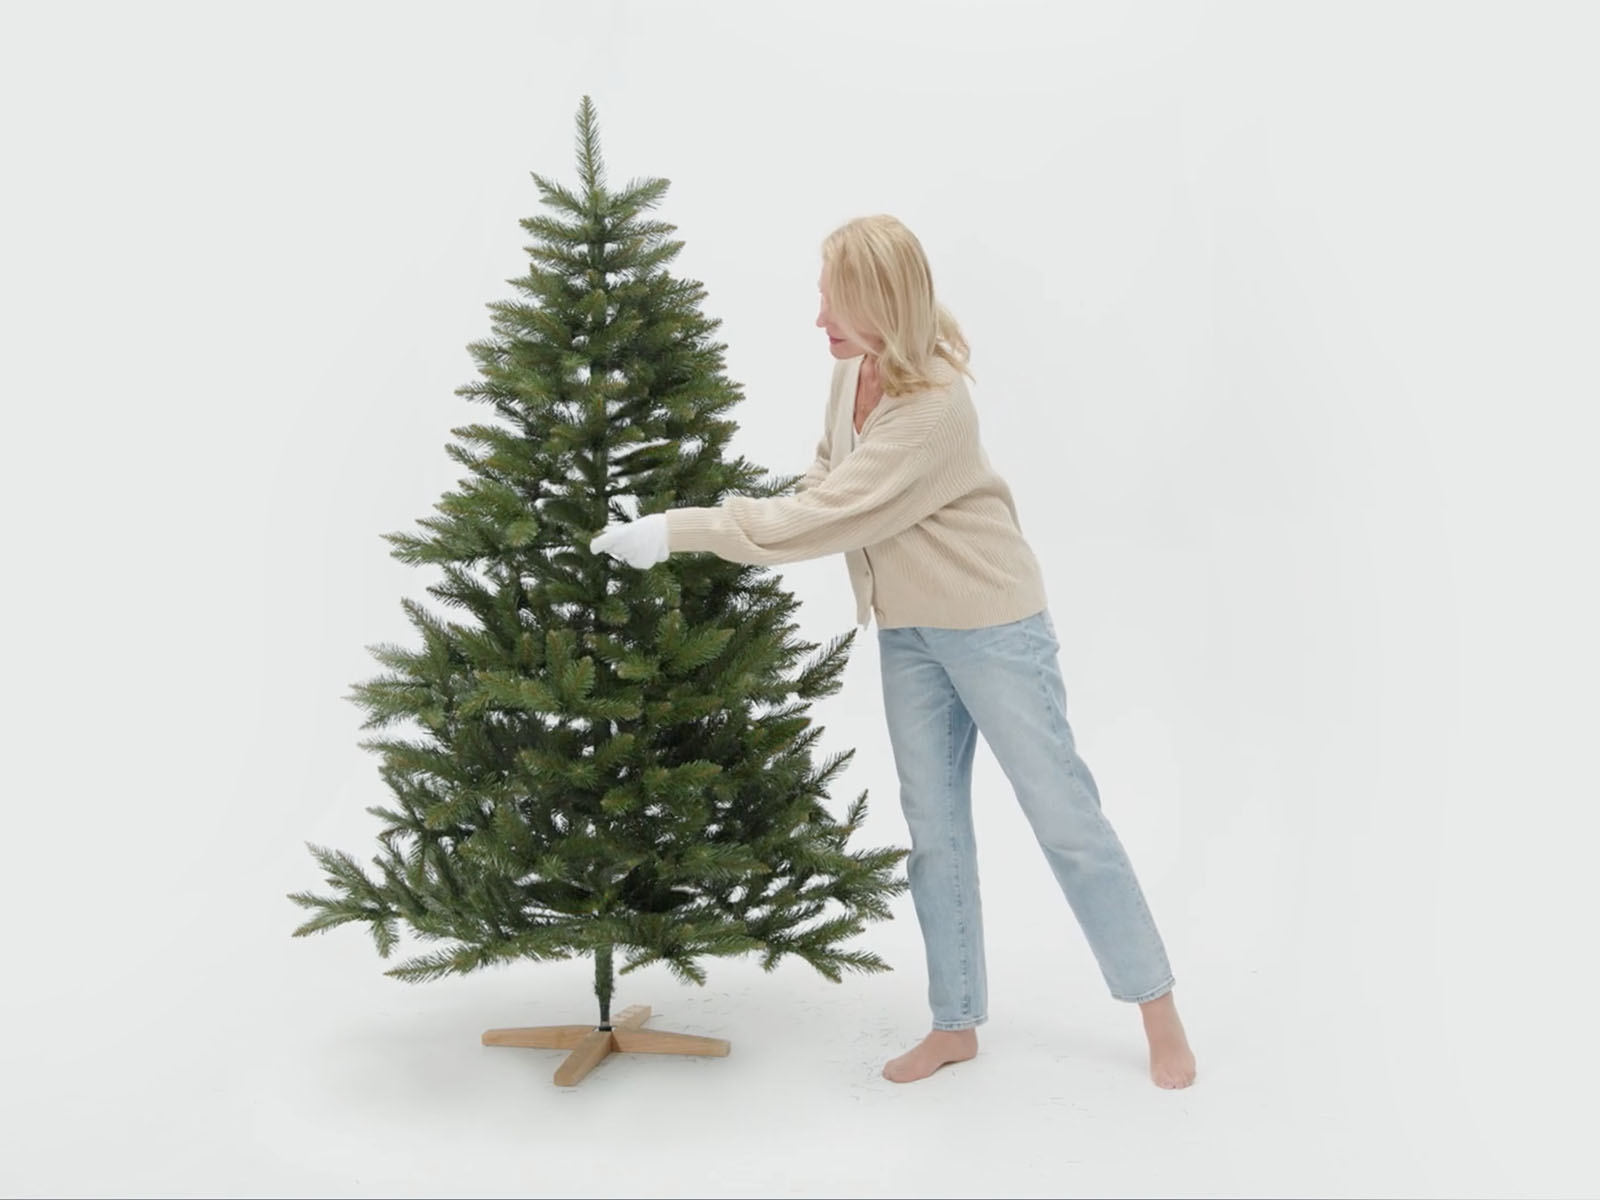
Spread each layer of branches individually, starting from the lowest level. Give them a natural look by bending them in different directions. Branches closer to the trunk can be slightly bent downwards to add volume to the tree.
Symmetry at each level will make your tree look truly stunning. Step back and evaluate the tree from a distance to ensure the branches are evenly distributed and positioned correctly.
Final Touches
Adjust any exposed trunk or uneven branches. Bend the lower branches downward to hide the stand. If you have a decorative tree skirt, now is the perfect time to add it!
Before decorating, gently dust off the branches – it’s easiest with a soft brush or microfiber cloth. Start from the top and work your way down to prevent dust from settling on already cleaned branches.
Post-Holiday Disassembly Without Stress
Start by removing the ornaments, then disassemble the tree from top to bottom. Fold the branches along the trunk to avoid deformation – do it carefully to keep the tree in great condition for the next year.
Remember to protect metal parts, like the stand, from moisture – for example, by wrapping them in plastic or storing them in a dry place. Using the original packaging is the best way to protect the tree from dust.
Tips to Avoid Frustration
- Work as a team! Got a large tree? Ask someone for help. Assembling in pairs is also a great opportunity for festive fun! To make it even more enjoyable, we’ve prepared a special Christmas playlist on Spotify.
- Do it like an organization pro. Keep tools and accessories handy so you don’t have to interrupt work looking for assembly parts.
- Share the result! Once the assembly is complete, take a picture of your tree – it’s not only a great keepsake but also inspiration for next years.
Additional Materials to Make Assembly Easier
Want to be sure everything goes smoothly? Check out our additional resources:
- Assembly Manual in PDF Format: Download our artificial tree assembly guide, which will take you step by step through the entire process.
- Instructional Video on YouTube: Watch our assembly video, which clearly shows how to properly set up the tree.
These additional materials will make the assembly process even easier!